Catalog
HitPaw Photo AI works best on Windows and Mac. To have a better understanding on this software, here is a complete guide to help you download, install, purchase, register, update and uninstall HitPaw Photo AI. Now let's get started.
1. Download & Installation
-
Click on the below Download button.
-
Click on the downloaded package to open the installation pop-up windows. Click on the “Run” button.
For Win

-
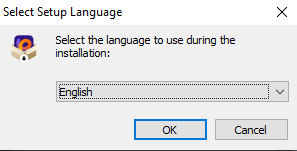
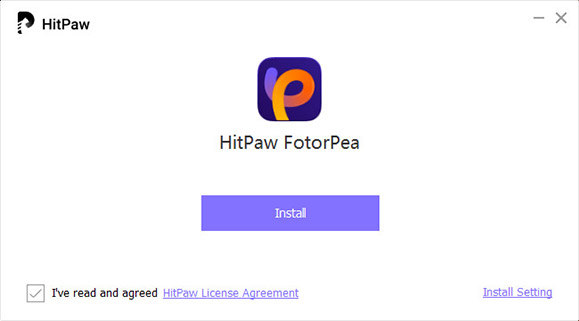
From the pop-up window, you can tap the “Install” button to install the HitPaw Photo AI. Also, you could select a custom installation option and then choose your preferred language and installation path.
For Win


-
After the installation is complete, Click “Finish” and it will automatically jump to the page that tells you’ve installed successfully. Then you can easily launch the program on your computer.

2. Activate
HitPaw Photo AI offers a reasonable price plan for all. To have all its features and get your ideal images, you’d better purchase its premium version.
-
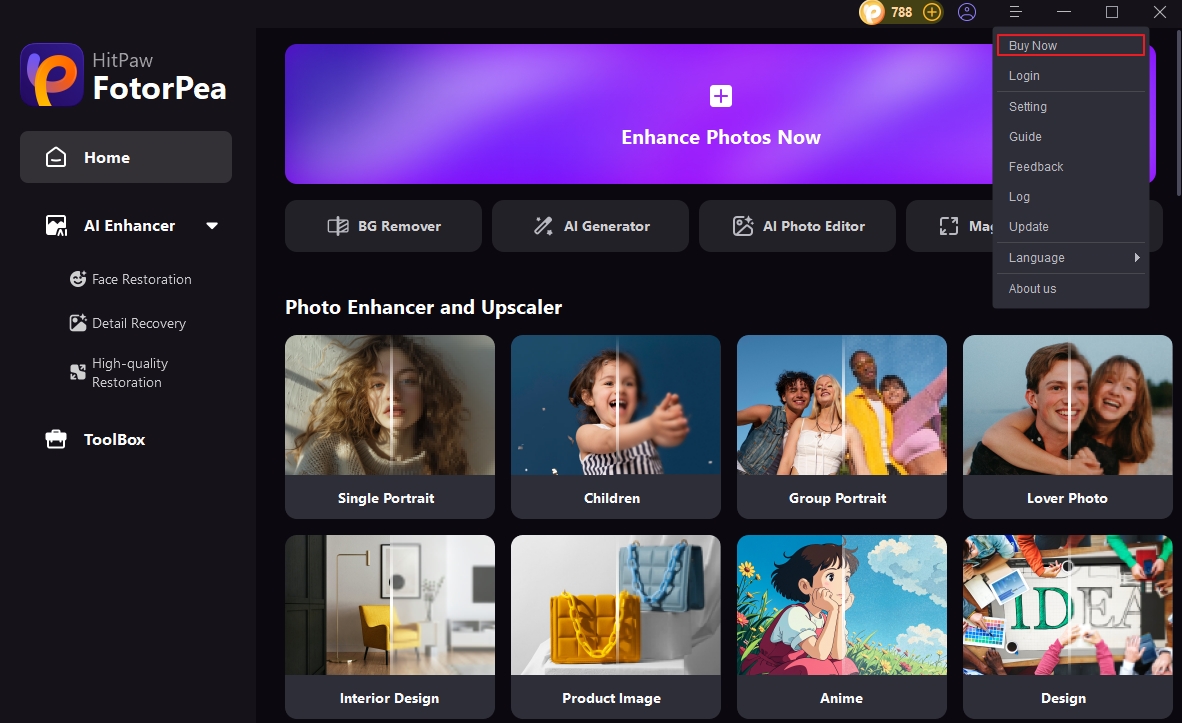
You can click on the Cart icon if you want its license. Or you can find Buy Now option in the menu in the upper right corner of the home interface. You will receive a confirmation E-mail if the payment is done.
-
You can log in with your purchased e-mail here. If you're forget the password, you can reset it with E-mail.

3. Update
HitPaw features frequent updates, so new features will come out definitely. To not miss any of the new features, you can find out if there is a new version of the software.
Click the menu as well and you will find Update option. Click it and it will automatically head to its official website and you can easily get the latest installation package now.

4. Uninstall
For Win
Right-click the software icon on your desktop and select “Open File Location”.
-
Click "Start". Then select "Settings" > "Applications" > "Applications and Features".

-
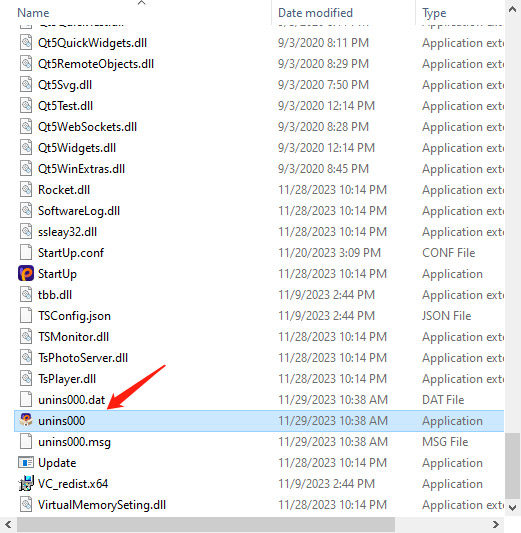
Navigate to the application file named “unins000” and double click on it.

-
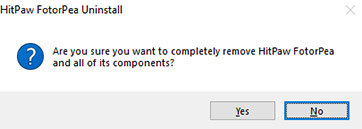
Choose “Yes” in the pop-up windows which shows “Are you sure you want to completely remove HitPaw and all of its components?”.

-
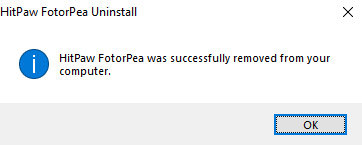
It will start uninstalling HitPaw Photo AI automatically. After a few seconds, you will see a windows which tells that HitPaw Photo AI was successfully removed from your computer. Click “OK” to finish uninstallation

To learn more about HitPaw Photo AI, you can head to sidebar to get more information.
For Mac
- Right-click the software icon on your Mac and select "Options" > "Show in Finder" , or enter "Finder" in the top-left of your desktop.

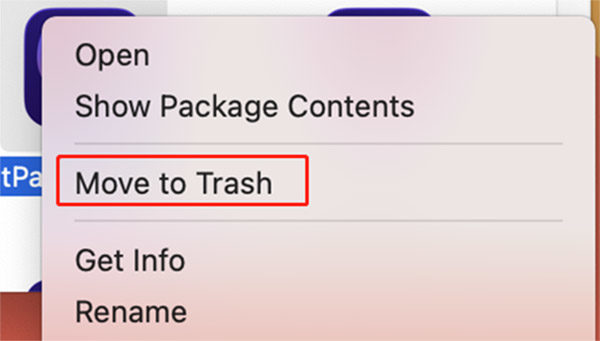
- Then click to choose "Move to Bin", then confirm.

- Then the software will be deleted from your Mac. Make sure the software has stopped running before installation.
5. Preference
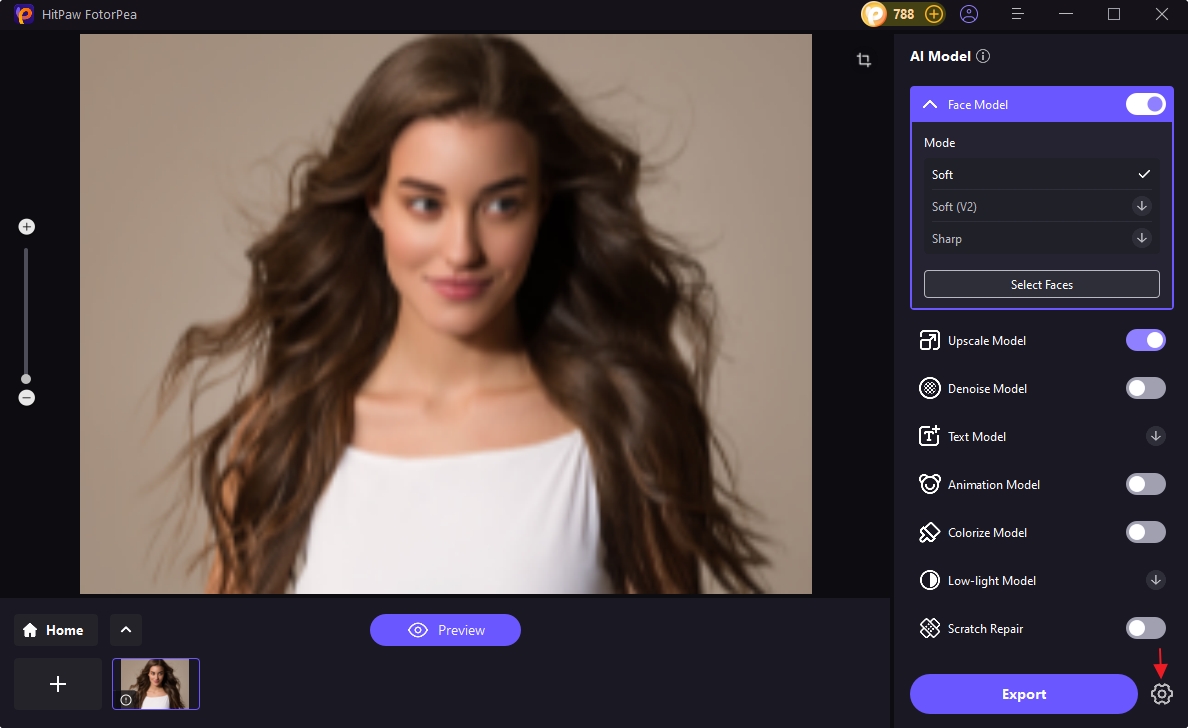
Enter AI Enhancer and upload a picture, then click on the setting button beside the Export to set the Preference. You can see your processor, set your multi task limit and choose whether to keep the photo's Exif data.
Set Your Multi Task Limit
Here you can set the AI processor as your CPU or GPU to run the software, which can adjust the computer resource as you want. And adjusting multi-task limit can help you to control whether your device is going to process faster or more balanced.
Click the drop-down menu to choose whether you use the CPU or GPU as the basic processor.
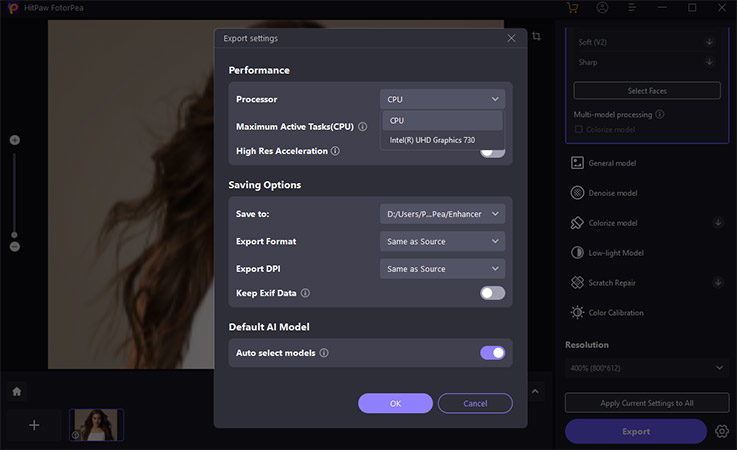
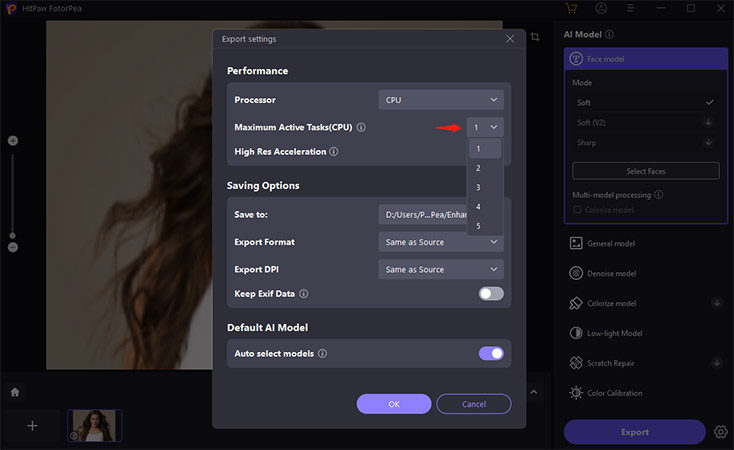
Multi-task means the maximum number of photos that can be processed simultaneously. The higher amount of multi-task limit can make your device put more computer resource on running the software. The maximum amount can be set to 5.
Keep or Remove Your Photo EXIF data
Exif information includes shooting time, location, ISO, camera and other information. You can keep or remove your photo Exif data by turning this function on or off.
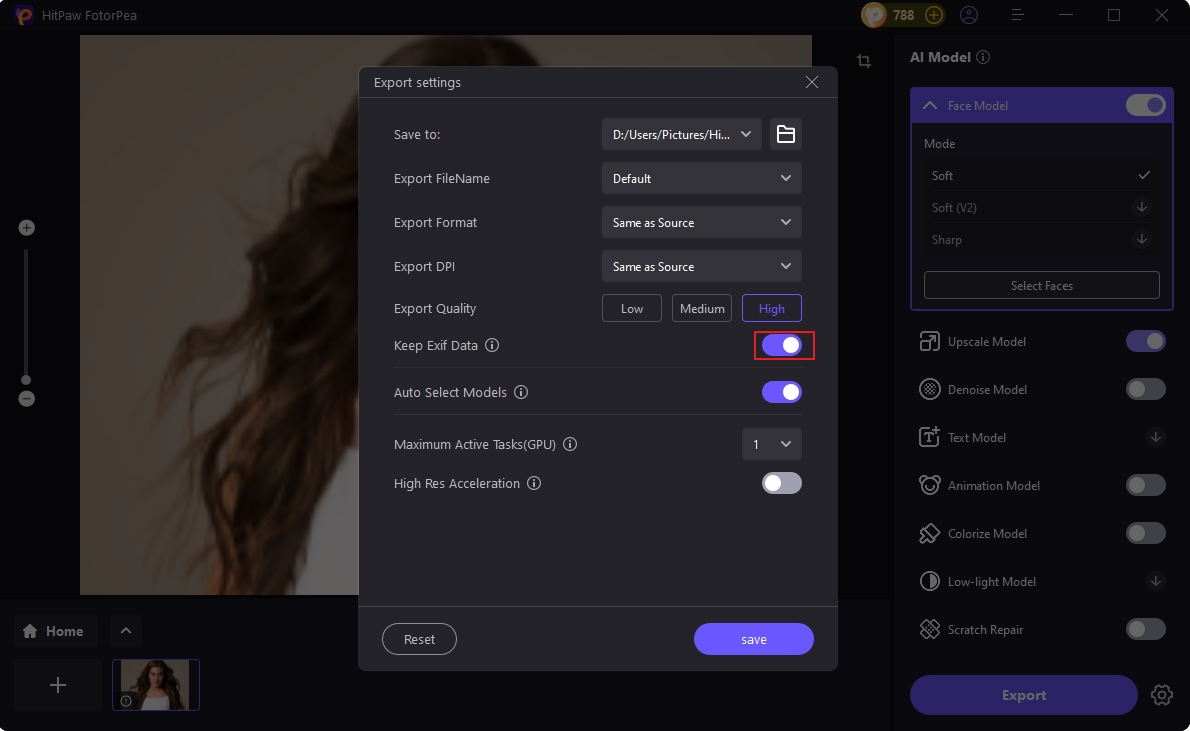
Select Your OutPut Format
HitPaw allows you to output several formats. In the Preference, you can choose to export as original format, PNG or JPEG.


